Intro
iOS page sheet is a popular user interface component that allows for a seamless and intuitive navigation experience in iOS apps. If you're building a React Native app and want to provide your users with a similar experience, you're in the right place.
We will be adding modal sheets into a React Native application using react-native-ios-modal package.
Prerequisites
To follow with the tutorial, you'll need a React Native app, which can be generated using the following command:
npx react-native init RealApp
For this example we will be using one of the WithFrame's pre-built settings screens with the Face ID action.
Installation
If you are a yarn user, run:
yarn add react-native-ios-modal
If you are an NPM user, run:
npm install react-native-ios-modal --save
Also, don't forget about linking the native packages:
npx pod-install
On React Native 0.60+ the CLI autolink feature links the module while building the app.
Step 1: Create a ModalView
The first step is to import and use a ModalView component from the react-native-ios-modal package. We also have to define a modalRef reference using useRef in order to be able to open the modal.
For this example we're using the settings component referenced above, but you can also just create any component of your own.
import { ModalView } from "react-native-ios-modal";

function App(): JSX.Element {
  const modalRef = useRef < ModalView > null;

  return (
    <>
      <ModalView ref={modalRef} containerStyle={{ backgroundColor: "#fff" }}>
        {/* Copied from WithFrame */}
        <Settings />
      </ModalView>
    </>
  );
}
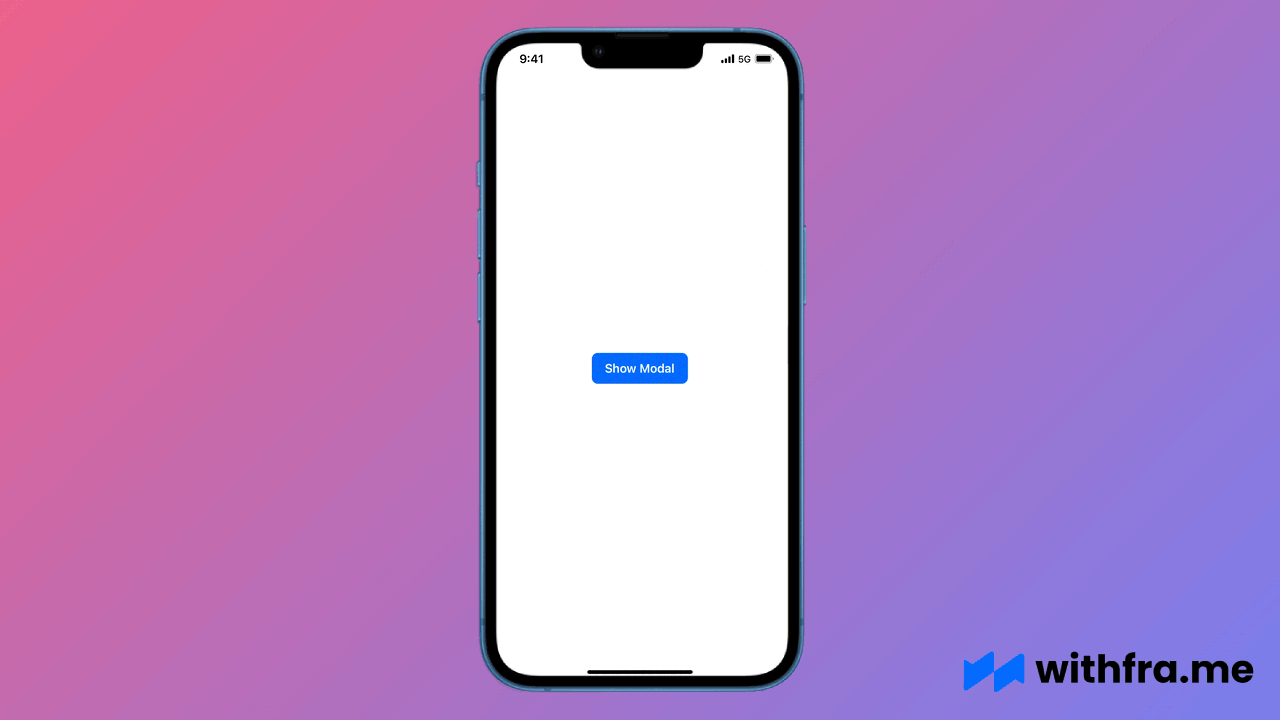
Step 2: Create a Button to open the modal
Now that we've created a modal, we need to add a button to open it.
<TouchableOpacity
  onPress={() => {
    if (modalRef.current) {
      modalRef.current.setVisibility(true);
    }
  }}
>
  <View style={styles.btn}>
    <Text style={styles.btnText}>Show Modal</Text>
  </View>
</TouchableOpacity>
Step 3: Update the Status Bar style
When the modal is opened, the background behind it is dark and therefore user is unable to see the status bar. Let's update the bar style accordingly.
function App(): JSX.Element {
  const modalRef = useRef < ModalView > null;

  return (
    <>
      <StatusBar barStyle={barStyle} />
      <ModalView
        ref={modalRef}
        containerStyle={{ backgroundColor: "#fff" }}
        onModalDismiss={() => {
          setBarStyle("dark-content"); // update the bar style to "dark"
        }}
      >
        {/* Copied from WithFrame */}
        <Settings />
      </ModalView>
      <TouchableOpacity
        onPress={() => {
          if (modalRef.current) {
            modalRef.current.setVisibility(true);
            setBarStyle("light-content"); // update the bar style to "light"
          }
        }}
      >
        <View style={styles.btn}>
          <Text style={styles.btnText}>Show Modal</Text>
        </View>
      </TouchableOpacity>
    </>
  );
}