React Native has countless benefits for app developers, and it has saved people thousands of hours of banging their heads against their monitors trying to figure out how to implement custom features in both Swift and Kotlin.
One great example of why React Native is such a powerful development platform is that you can combine pre-existing libraries and pre-built screens to create a robust user experience that would take much longer in other frameworks.
Most apps have a settings page, letting users change their locale from that page. Historically, developing such a screen and functionality would have taken quite a bit of time, but by leveraging existing designs and a few lines of code, you can build this functionality in minutes.
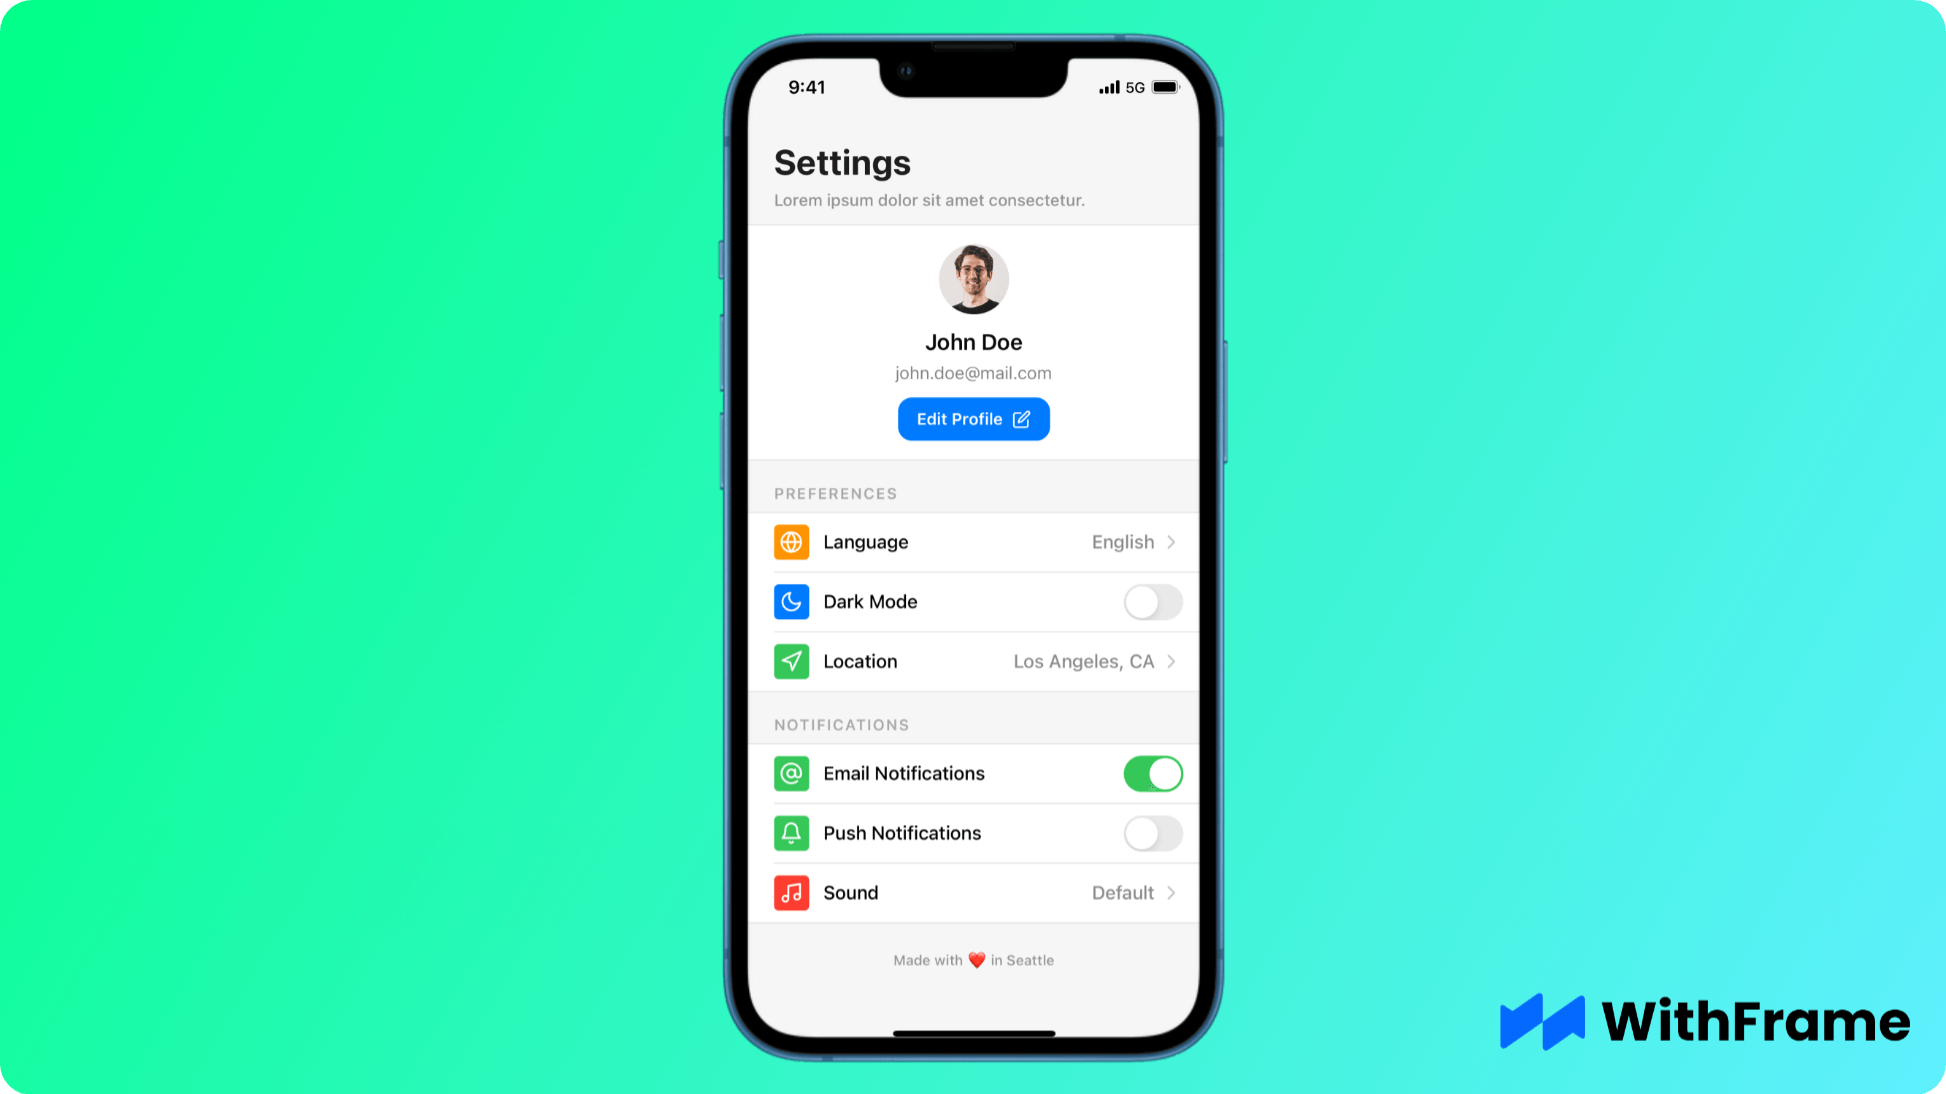
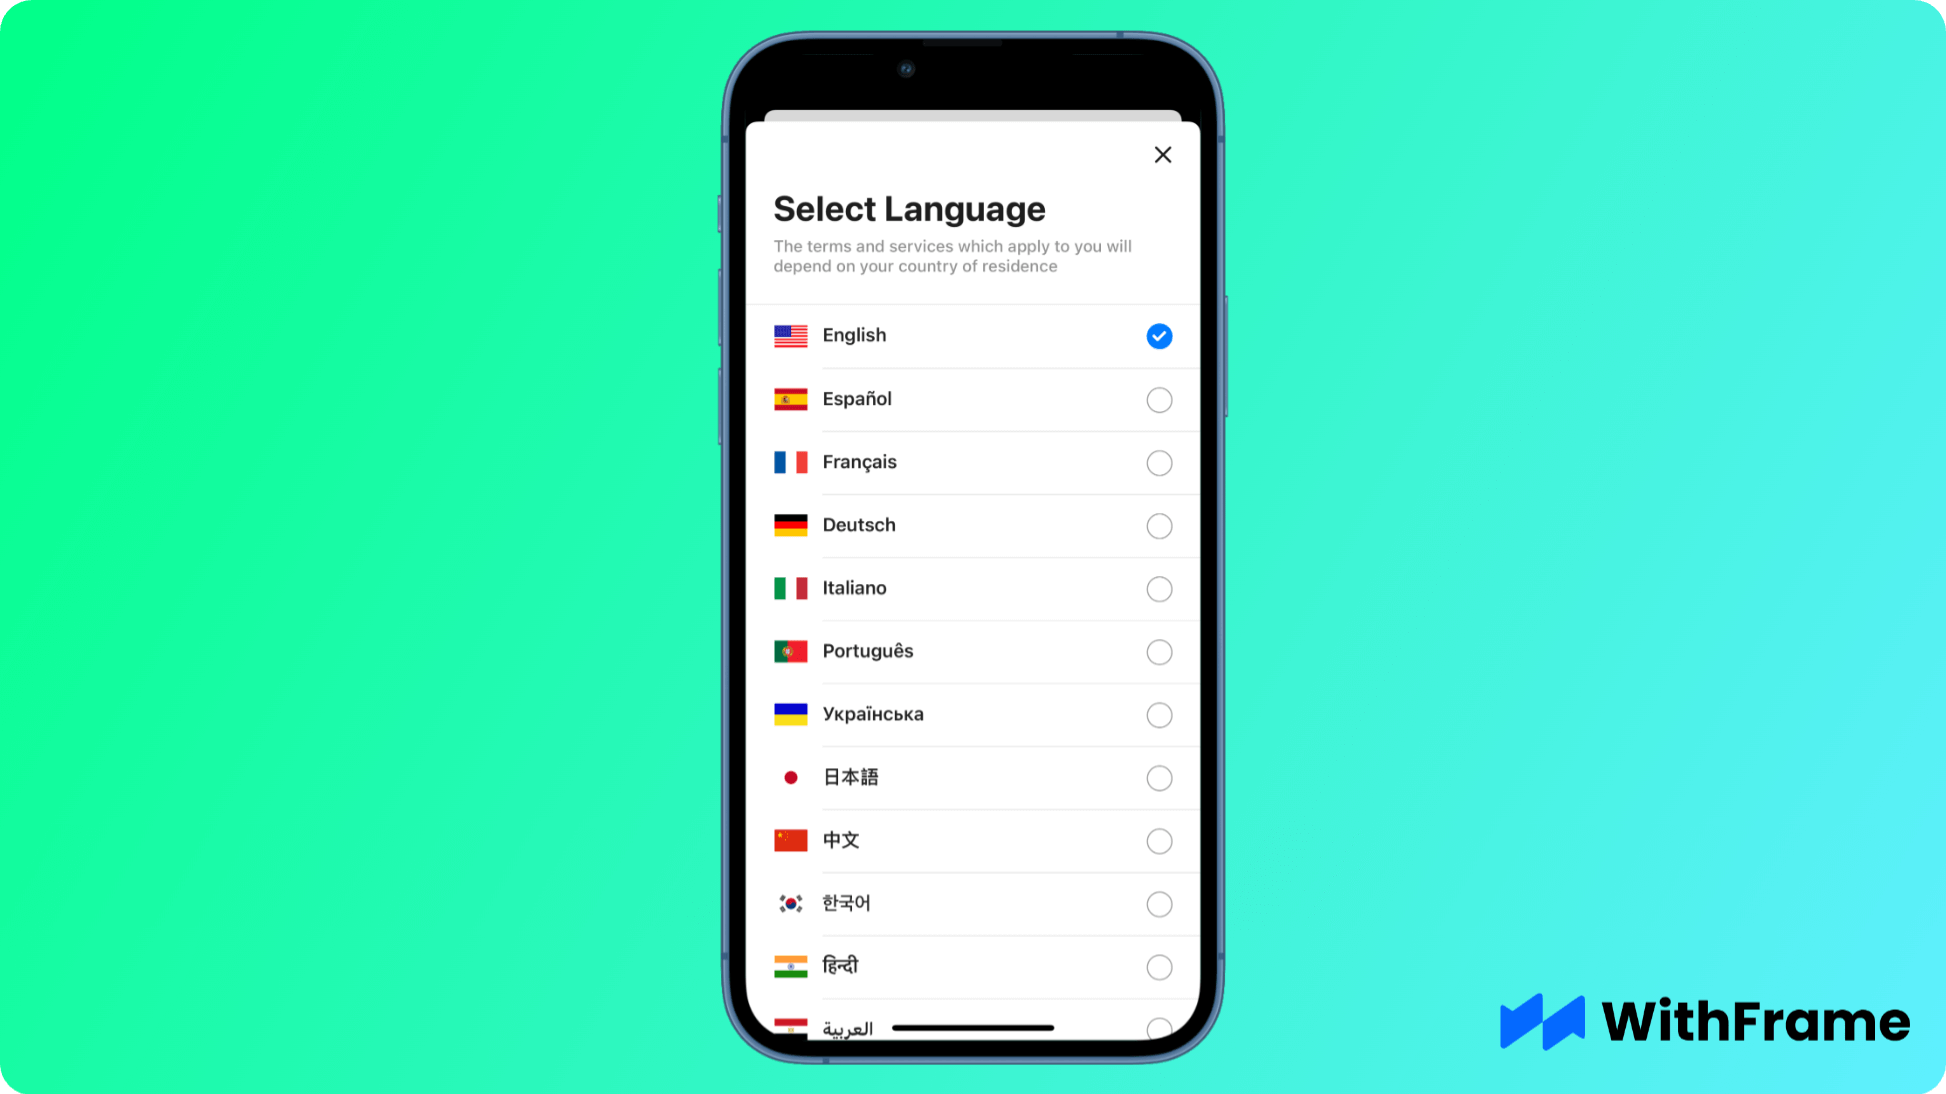
For this example we will be using one of the WithFrame’s pre-built settings screen with the language picker.
Here are three easy steps to detect your user's locale and show it in ready-to-use components, like this settings screen.
What Is Locale in React Native?
Before figuring out the user's locale, it's first worth understanding what "locale" means. It's an essential concept for multi-region or multi-language apps.
Typically, a locale has two components to it. The first is the user's language. As you might expect, this can be English, French, Spanish, or any other language spoken on this planet. The language component typically uses a two-letter abbreviation from the ISO 639-1 standard.
The second component is the user's country, abbreviated to two letters, per the ISO 3166-1 alpha-2 standard. Many countries have very expected abbreviations - like the United States is "US," for example. However, other countries, like Saint Lucia, are LC.
The locale, then, becomes a concatenation of the two. For example, "en-US" refers to an English speaker in the United States. Or, "fr-FR" refers to a French speaker in France, while "fr-CA" refers to a French speaker in Canada.
Once you have this level of granularity, you can show the language selection on your settings screen and adjust your app to be in that language. That adjustment allows your app to follow its expected conventions. For example, an "fr-CA" user would expect "$1.000,00" while an "en-CA" user would expect $1,000.00".
Locale, therefore, is the key for most apps to deliver a stellar experience across multiple countries and locations. Fortunately, it's easy to detect in React Native.
Step 1: Grab the First Library
As with many concepts in React Native, implementation is easy once you get the correct libraries. There are a few libraries to handle locales and localization, but the easiest one by far is react-native-localize.
To install this library to your project, enter the following command:
npm install react-native-localize
Alternatively, if you are using yarn instead of npm, you can install the library like this:
yarn add react-native-localize
With `react-native-localize`` installed to your project, the next step is to use it!
Step 2: Use React-Native-Localize
The react-native-localize package contains a whole host of valuable features for detecting the user's regional information.
In particular, this package provides eight core methods to get the user's regional settings.
getLocales(): Gets the user's preferred locales in order.getCurrencies(): Gets the user's preferred currency codes in order.getCountry(): Returns the ISO 3166-1 alpha-2 country code for the user. For example, this might be "FR" for France.getCalendar(): Returns the type of calendar that the user has on their device. For most people, this will be "gregorian."getTemperatureUnit(): Returns the preferred temperature units. For US devices, this will likely be Fahrenheit. For all other countries, the return value is likely Celsius.getTimeZone(): Gets the user's current timezone. For example, this might be "America/Los Angeles."uses24HourClock(): Returns a true boolean value if the user displays the time on their device in 24-hour notation, false otherwise.usesMetricSystem(): Returns a true boolean value if the user uses the metric system on their device, false otherwise. This value will be true for most of the world, except for many US-based devices.
As you may have guessed, we'll use the getLocales() function to detect the locale. That function returns an array of JSON objects, each having the following properties:
type getLocales = () => Array<{
  languageCode: string;
  scriptCode?: string;
  countryCode: string;
  languageTag: string;
  isRTL: boolean;
}>;
Since the array will have the user's preferred locale in the first index, we can get the language to put into our pre-built screen like this:
import { getLocales } from 'react-native-localize';

...

const languageCode = getLocales()[0].languageCode;
With that language code safely stored in a variable, the last and final step to getting it to display on our screen is to convert the code into a string that users will understand.
Step 3: Convert the Language Code to a String (optional)
As any developer can tell you, one of the best aspects of React Native is that you can leverage existing JavaScript libraries. No matter how wacky or outlandish the problem is, there's probably a library for it. Fortunately, this particular problem is pretty mundane. Use the language-name-map library to convert the language code to a string that users can understand.
First, let's install the library:
npm install language-name-map
Now, let's tweak our code above to get the language name.
import { getLangNameFromCode } from "language-name-map";
import { getLocales } from 'react-native-localize';

...

const languageCode = getLocales()[0].languageCode;
const languageName = getLangNameFromCode(languageCode).native;
Please note that this library supports retrieving the language name in English and the native dialect. For example, for German, the name property contains "German," while the native property contains "Deutsch."
Typically, for a screen like this, you'd want to display the native property, which is what the code snippet above does.
React Native: Detect the User's Locale and Modify Your Settings Page
As you can see from the above, you can reasonably trivially detect your user's locale. With that information, you can adjust your settings page accordingly, displaying the strings on that page in the user's locale, and you can also show the language they have selected in their native dialect on the pre-built settings screen.
React Native is powerful because it saves developers time. By leveraging two pre-existing libraries and ready-to-use components, you can deliver a world-class settings experience that rivals what you would find from the world's leading app developers, including Apple and Google themselves. If you're looking to deliver a multi-lingual, inclusive app experience across borders, try this simple solution in React Native and see for yourself how easy it is to implement localization for your apps.