Intro
Let's be honest, email is the easiest way to receive feedback from users when developing a React Native application. In this tutorial we will show how to create a React hook for sending emails and how you can re-use it in any of your applications.
We will be sending emails using a very popular react-native-mail package.
Prerequisites
To follow the post, you will need a React Native application, which can be easily created using this command:
npx react-native init MyCoolApp
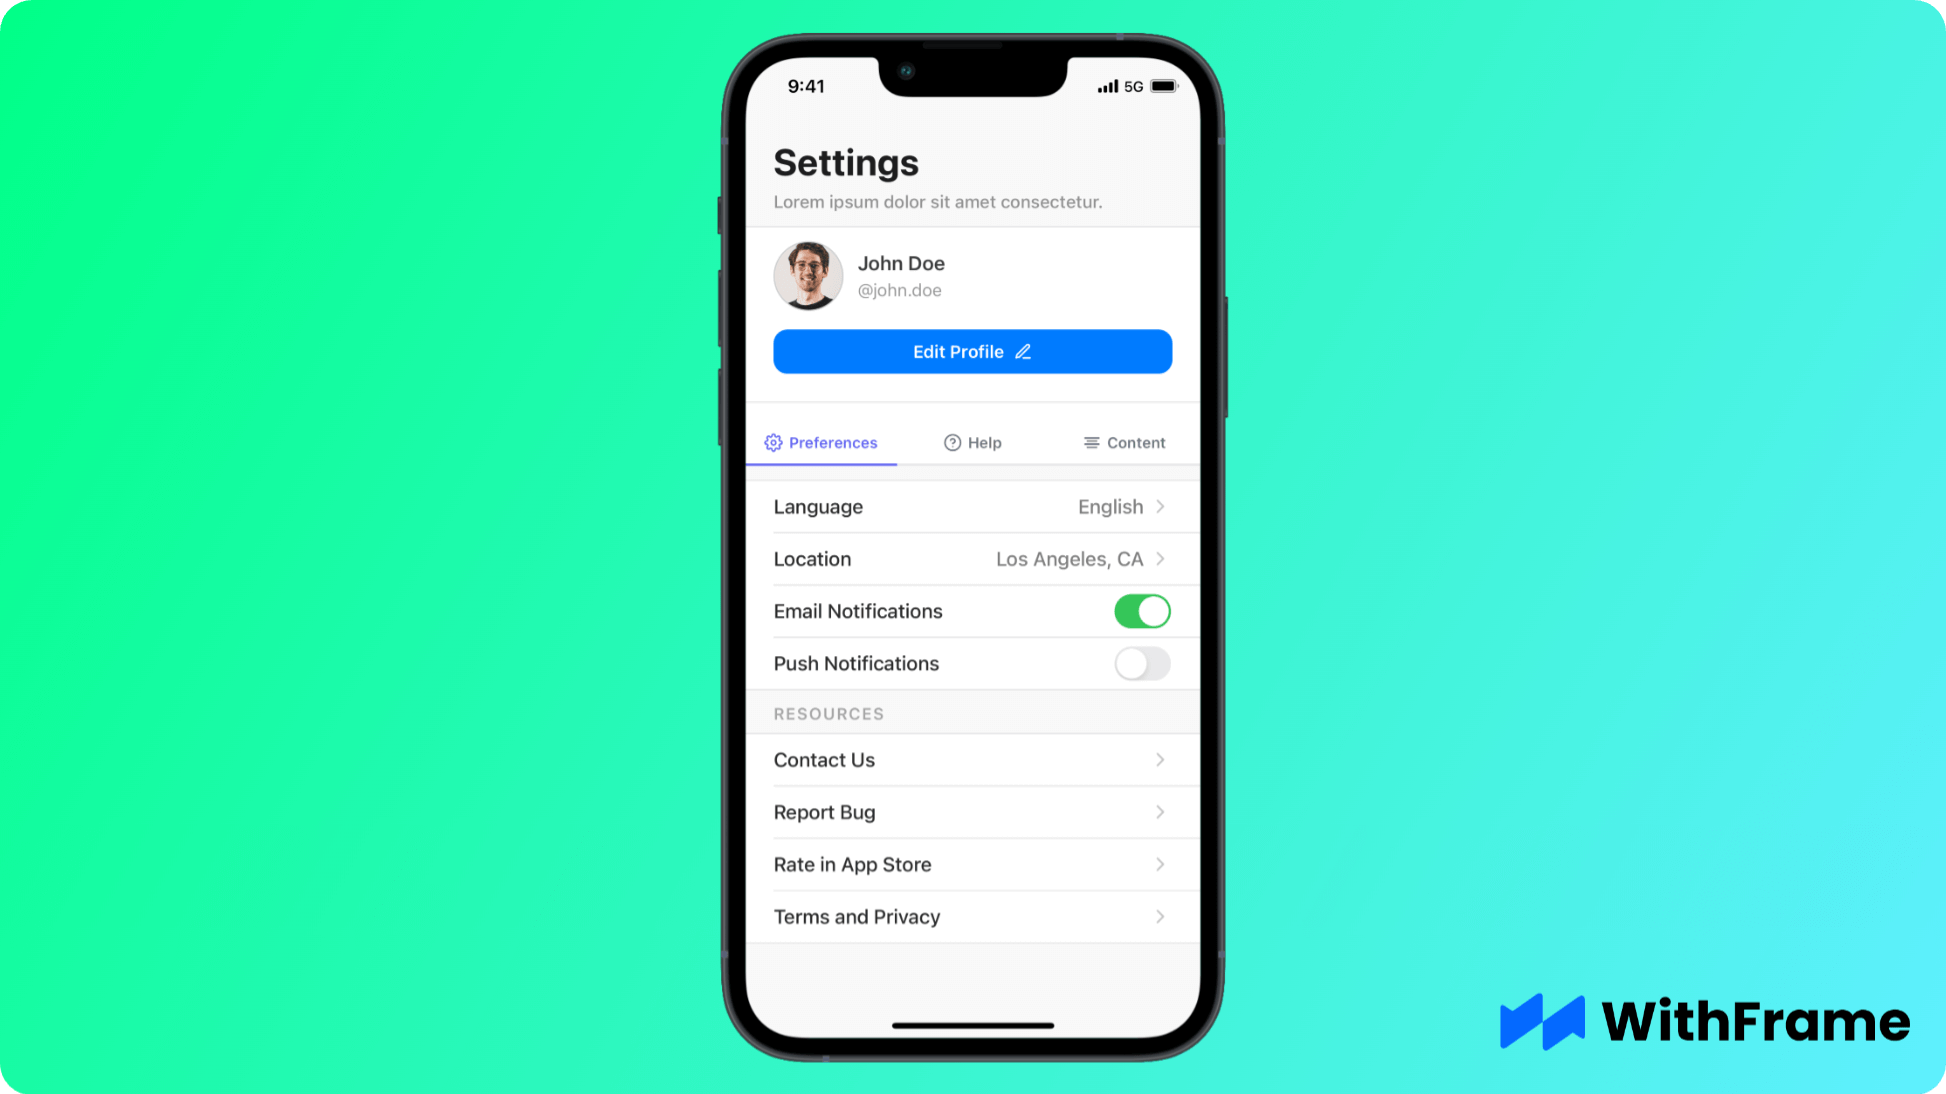
For this example we will be using one of the WithFrame's pre-built settings screens with the Contact Us action.
Installation
First thing first, you need to install and setup react-native-mail package in your codebase or project directory.
You can choose any of the commands given according to your environment.
If you are using npm package manager:
npm install react-native-mail --save
If you are using yarn package manager:
yarn add react-native-mail
Lastly, we have to link the native packages:
npx pod-install
In React Native 0.60+ the CLI autolink feature links the module while building the app.
Step 1: Create useSendEmail() hook
React introduced hooks to extract stateful logic from a component so it can be reused in multiple places throughout the app.
Let's create a new file useSendEmail.ts and import Mailer from the react-native-mail package.
It is recommended to append account id or any other user identifier in the email body for identification purposes.
import React, { useCallback } from "react";
import Mailer from "react-native-mail";

const useSendEmail = ({ subject }) => {
  const sendEmail = useCallback(
    ({ body = "", isHTML = false, attachments } = {}) => {
      return new Promise((resolve, reject) => {
        Mailer.mail(
          {
            subject,
            recipients: ["[email protected]"], // replace with your email
            body: `${body}\n\n Account Id: #123123`,
            isHTML,
            attachments,
          },
          (error, event) => {
            if (error) {
              return reject(error);
            }

            resolve(event);
          }
        );
      });
    },
    [subject]
  );

  return {
    sendEmail,
  };
};
Note: You won't be able to use this package in iOS simulator and have to use a real device for testing (see all error types below).
Step 2: Open email modal
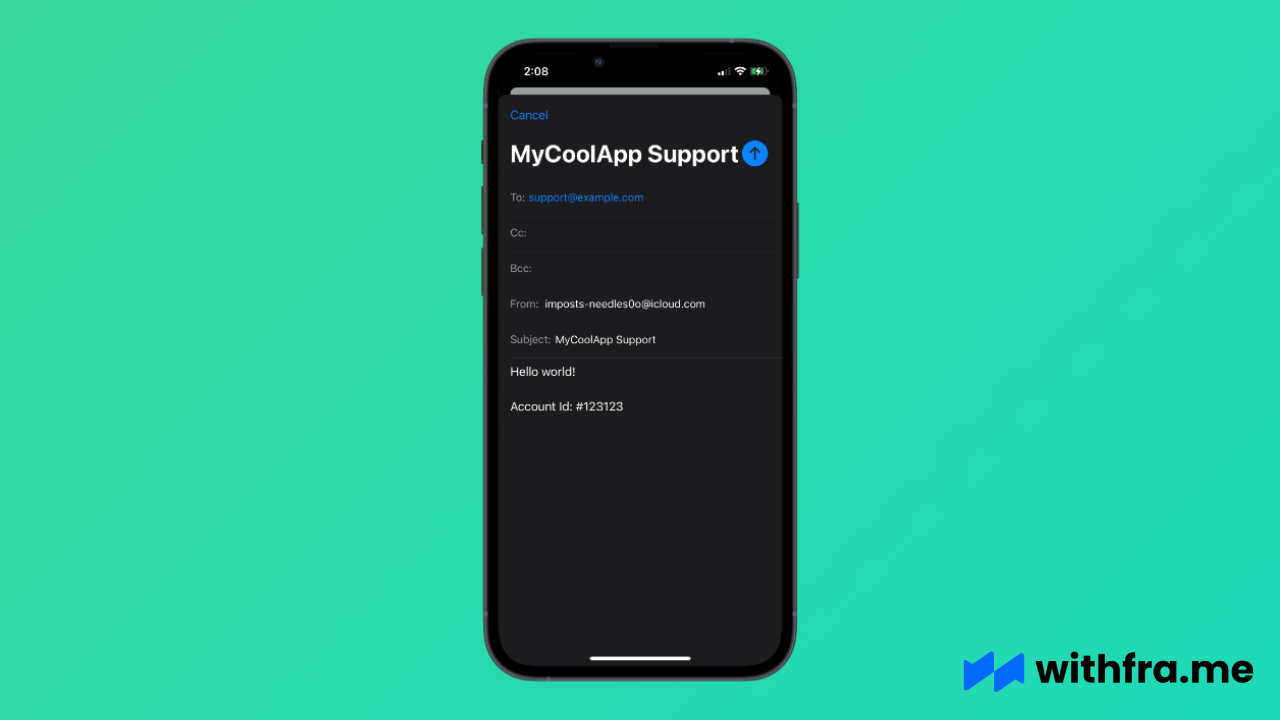
Now that we have a custom hook ready, we can use it on our settings screen to send emails.
import React from 'react';

export default function Example() {
  ...

  const {sendEmail} = useSendEmail({
    subject: 'MyCoolApp Support',
  });

  return (
    <>
      ...

      <TouchableOpacity
        style={styles.row}
        onPress={async () => {
          try {
            const event = await sendEmail();
            // or sendEmail({body: '<b>Hi</b>, I'm contacting you to ...', isHTML: true});

            if (event !== 'cancelled') {
              Alert.alert('Success!', 'Thank you for your feedback!');
            }
          } catch (err) {
            Alert.error('Oops!', 'Something went wrong..');
          }
        }}>
        <Text style={styles.rowLabel}>Contact Us</Text>
      </TouchableOpacity>
    </>
  )
}
Step 3: Add attachments to your email
In order to add attachments to the email body, you first need to prompt the user to pick the attachments. There are 2 amazing NPM packages exactly for this purpose: react-native-document-picker and react-native-image-picker.
Once you have the attachments ready it is very easy to add themm to the email body.
import React from 'react';

export default function Example() {
  ...

  const {sendEmail} = useSendEmail({
    subject: 'MyCoolApp Support',
  });

  return (
    <>
      ...

      <TouchableOpacity
        style={styles.row}
        onPress={async () => {
          try {
            // see https://www.npmjs.com/package/react-native-image-picker
            const results = await launchImageLibrary({
              mediaType: 'photo'
            });

            const attachments = results.map((result) => ({
              uri: result.uri,
              type: result.type,
              name: result.fileName, // optional
            }))

            const event = await sendEmail({
              body: 'Here are my attachments',
              attachments,
            });

            if (event !== 'cancelled') {
              Alert.alert('Success!', 'Thank you for your feedback!');
            }
          } catch (err) {
            Alert.error('Oops!', 'Something went wrong..');
          }
        }}>
        <Text style={styles.rowLabel}>Contact Us</Text>
      </TouchableOpacity>
    </>
  )
}
Error types
not_available- error is thrown when the device isn't capable of sending emails ([MFMailComposeViewController canSendMail]returnsfalse).failed- error is thrown when the email message was not saved or queued, possibly due to an error (see MFMailComposeResultFailed)attachment file with path '...' does not exist- error is thrown when the attachment file path does not exist. Make sure to add an event handler if you're usingattachments['path']attachment file with uri '...' does not exist- error is thrown when the attachment uri does not exist. Make sure to add an event handler if you're usingattachments['uri']Mime type '...' for attachment is not handled- error is thrown when the attachment mine type is not supported. A list of supported mime types can be found below.
Event types
sent- The email message was queued in the user’s outbox.saved- The email message was saved in the user’s drafts folder.cancelled- The user canceled the operation.
Supported mime types
- jpeg
- jpg
- png
- doc
- docx
- ppt
- pptx
- html
- csv
- vcard
- json
- zip
- text
- mp3
- wav
- aiff
- flac
- ogg
- xls
- ics
- xlsx