What is WebView in React Native?
WebView is a web browser integrated into a native app to display web content. It allows app users to use the web browser and access its content within the app, instead of opening or switching to a separate browser on a different interface.
This saves space and memory usage on smart devices. A good example is the Android System WebView for Android app developers.
React Native, a JavaScript-based mobile app framework for building cross-platform native apps exclusively supports the use of WebView. A third-party package – react-native-webview is available for react native app developers to use for the implementation of WebView in apps.
This package offers a flexible way to display the following web content:
- Website URL
- Custom Inline HTML with CSS and/or JavaScript
Benefits of Using WebView in React Native
WebView ensures the following simple benefits:
- Seamless user experience: No need to switch to external browsers
- Memory and resource efficiency: WebView embeds content in the app
- Versatile: Displays remote URLs, HTML, CSS, and JavaScript
What You Need Before Getting Started
Before diving into the tutorial, you need a basic understanding of React Native and a React Native project already set up. You can initialize a new project using either the React Native CLI or Expo.
For React Native CLI:
react-native init NewProject
For Expo:
expo init NewProject
Make sure to change the NewProject to your desired project name.
How to Use WebView in React Native
Using WebView in React Native is as easy as following these simple instructions:
Install the React Native WebView package
To get started, you need to install the react-native-webview package in your project.
If you are using npm:
npm install react-native-webview
If you are using yarn:
yarn add react-native-webview
For Expo-managed projects, run the following command;
expo install react-native-webview
Link the Native Packages (for React Native CLI)
In React Native 0.60+, the CLI automatically links the native modules when you build the app. CLI autolink feature
However, you can manually link by running:
npx pod-install
Using WebView in React Native
Now that you have successfully installed the React Native WebView package, let's walk through how to use the WebView component in your app.
Import WebView into Your App
Once the package is installed, you have to import the Webview component from the react-native-webview in the App.js file.
In this example, when the WebView component is rendered, the source URL content is displayed.
import React from "react";
import { WebView } from "react-native-webview";

export default function Example() {
  return <WebView source={{ uri: "https://withfra.me" }} style={{ flex: 1 }} />;
}
Display Inline HTML in WebView
Apart from loading URLs, WebView can also display custom HTML. Here's how to render inline HTML content:
import React from "react";
import { WebView } from "react-native-webview";

export default function Example() {
  const htmlContent = `
		<html>
			<head>
				<title>Example</title>
			</head>
			<body>
				<h1>Hello</h1>
				<p>This is an Inline HTML example displayed in WebView.</p>
			</body>
		</html>
	`;

  return (
    <WebView
      originWhitelist={["*"]}
      source={{ html: htmlContent }}
      style={{ flex: 1 }}
    />
  );
}
In the above example, the htmlContent variable serves as the source for the WebView component. The inline HTML will be displayed when the WebView component is rendered. The originWhitelist is to ensure the loading of the inline HTML.
You can add some inline CSS styling to your inline HTML to style it. You can also integrate JavaScript for dynamic features.
Add Custom CSS to WebView
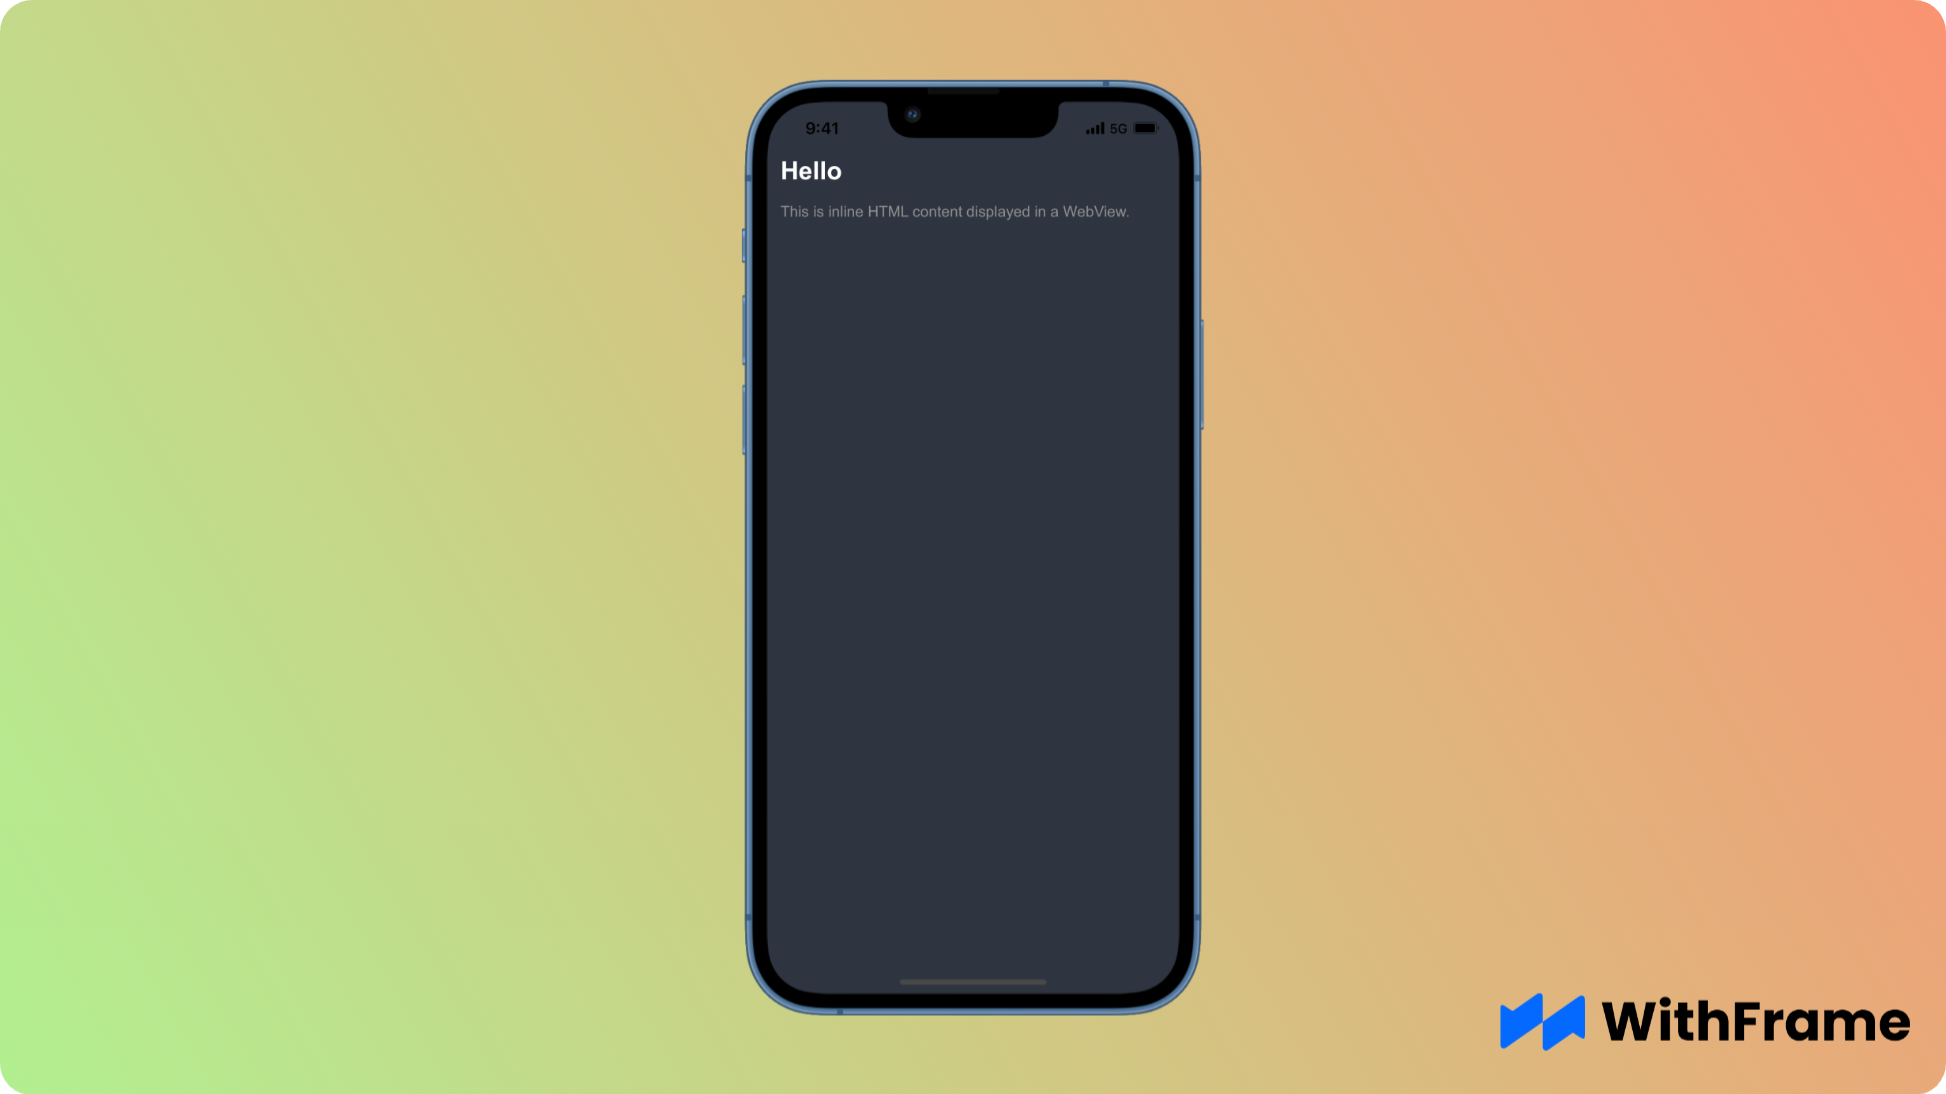
To add custom CSS styling, just follow the normal way of adding inline CSS to an HTML script. Like this;
import React from "react";
import { WebView } from "react-native-webview";

const MyWebView = () => {
  const htmlContent = `
    <html>
      <head>
        <title>Example</title>
        <style>
          body {
            font-family: Arial, sans-serif;
            background-color: #2E3440;
            padding: 120px 24px;
          }
          h1 {
            color: #fff;
            font-size: 60px;
          }
          p {
            color: #8f8f8f;
            font-size: 36px;
          }
        </style>
      </head>
      <body>
        <h1>Hello</h1>
        <p>This is inline HTML content displayed in a WebView.</p>
      </body>
    </html>
  `;

  return (
    <WebView
      originWhitelist={["*"]}
      source={{ html: htmlContent, baseUrl: "web/" }}
      style={{ flex: 1 }}
    />
  );
};

export default MyWebView;
In the example above, a custom CSS styling is added to style the webpage when rendered.
Inject JavaScript for Interactive Web Content
Adding JavaScript to the webpage introduces dynamic features. JavaScript can be added in two ways;
Using the injectedJavascipt property
This prop only runs once when the user loads the page for the first time.
import React from "react";
import { WebView } from "react-native-webview";
export default function Example() {
const htmlContent = `
<html>
<head>
<title>Example</title>
</head>
<body>
<h1>Hello</h1>
<p>This is inline HTML content displayed in a WebView.</p>
</body>
</html>
`;
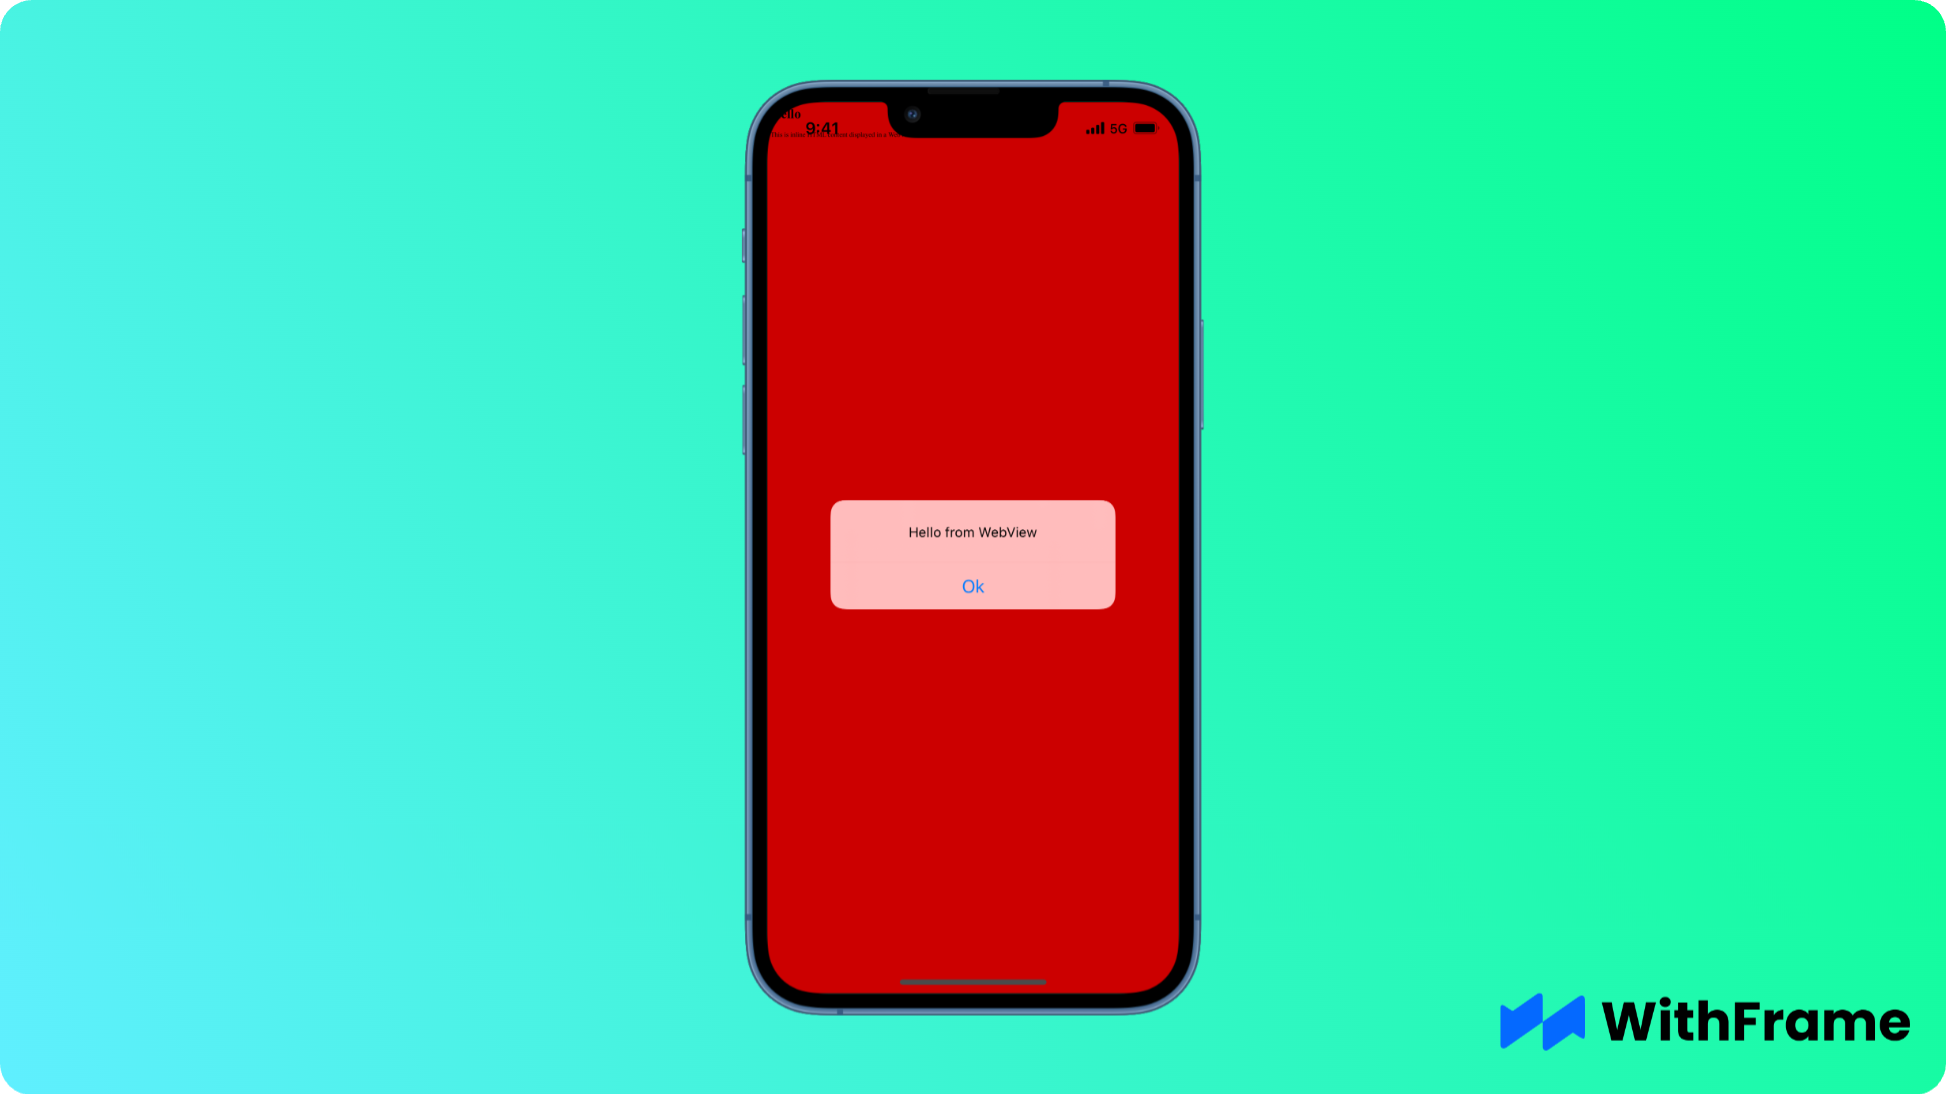
const injectedJavaScript = `
document.body.style.backgroundColor = 'red';
setTimeout(function() { window.alert('Hello from WebView') }, 2000);
true; // this is required
`;
return (
<WebView
originWhitelist={["*"]}
source={{ html: htmlContent, baseUrl: "web/" }}
injectedJavaScript={injectedJavaScript}
style={{ flex: 1 }}
onMessage={() => {}} // this is required
/>
);
}
The injectedJavaScript prop is used to set the background color of the webpage to red. This only works on the first load.
Note: injectedJavaScript has to return true; in order to prevent silent failures. onMessage is also required for the same reason.
Using the injectJavascript method
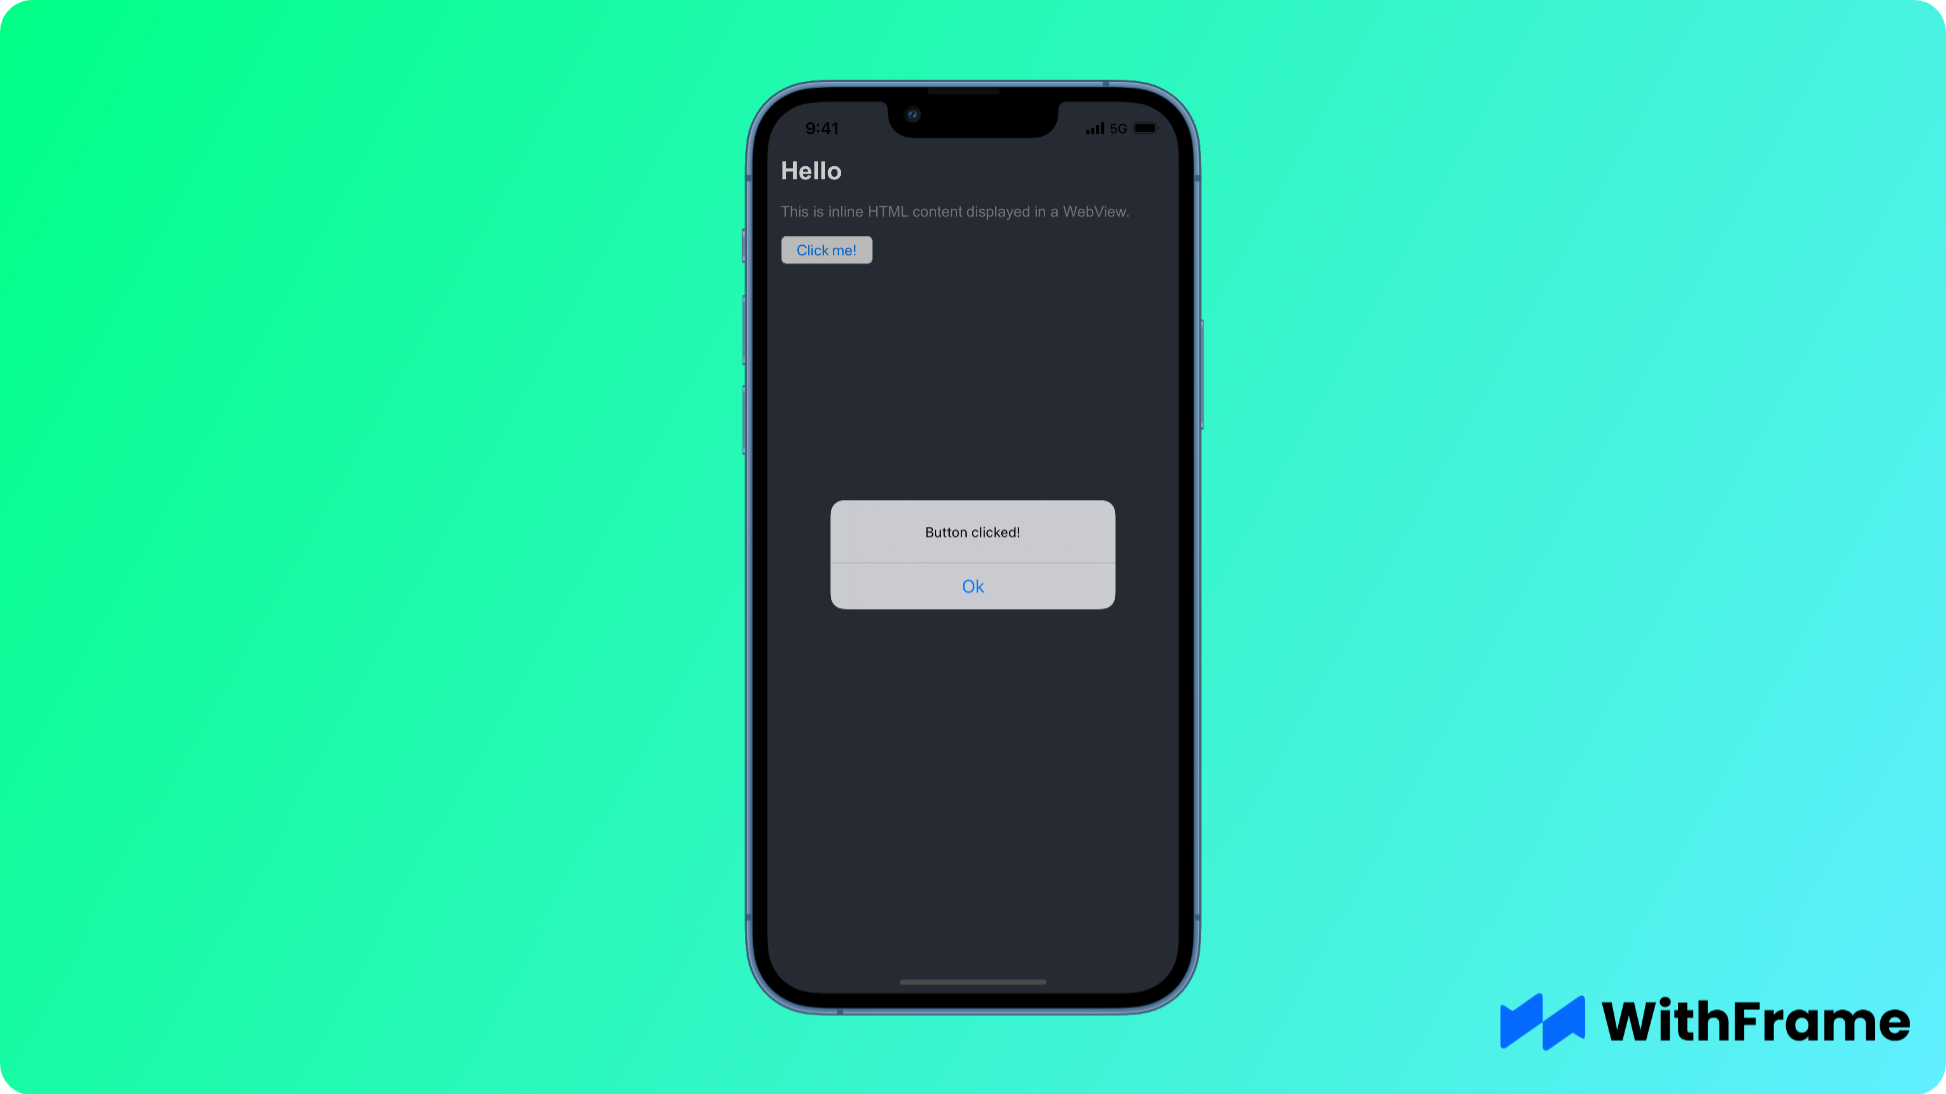
This method addresses the limitation of the injectedJavaScript prop. The injectJavaScript method allows execution of code more than once.
import React, { useRef } from "react";
import { WebView } from "react-native-webview";

export default function Example() {
  const webViewRef = useRef(null);

  const htmlContent = `
    <html>
      <head>
        <title>Example</title>
        <style>
          body {
            font-family: Arial, sans-serif;
            background-color: #2E3440;
            padding: 120px 24px;
          }
          h1 {
            color: #fff;
            font-size: 60px;
          }
          p {
            color: #8f8f8f;
            font-size: 36px;
          }
          button {
            font-size: 36px;
          }
        </style>
      </head>
      <body>
        <h1>Hello</h1>
        <p>This is inline HTML content displayed in a WebView.</p>
        <button id="myButton">Click me!</button>
      </body>
    </html>
  `;

  const customScript = `
    document.getElementById('myButton').addEventListener('click', function() {
      alert('Button clicked!');
    });
  `;

  const handleWebViewLoad = () => {
    webViewRef.current.injectJavaScript(customScript);
  };

  return (
    <WebView
      ref={webViewRef}
      originWhitelist={["*"]}
      source={{ html: htmlContent }}
      javaScriptEnabled={true}
      onLoad={handleWebViewLoad}
      style={{ flex: 1 }}
    />
  );
}
In the example above, the WebView component is first referenced using the useRef. A custom script is created for the JavaScript code. Then the injectJavaScript method is used to inject the JavaScript code into the web page.
WebView is the Best Tool for Embedding Web Content in React Native
WebView is a powerful tool for React Native developers who need to display web content or custom HTML directly inside their apps. With support for loading URLs, inline HTML, CSS, and JavaScript, it provides seamless and simple web features integration.
By mastering how to use WebView, you can improve the user experience, save memory, and create versatile app functionality.