Introduction
Creating an engaging user experience in mobile applications is crucial for retention and first impressions. A splash screen, which is the introductory screen that users see when they launch an app, plays a key role in setting the stage for what's to come.
This article will guide you through adding a splash screen in a React Native application, ensuring it's both aesthetically pleasing and functional.
What is a Splash Screen?
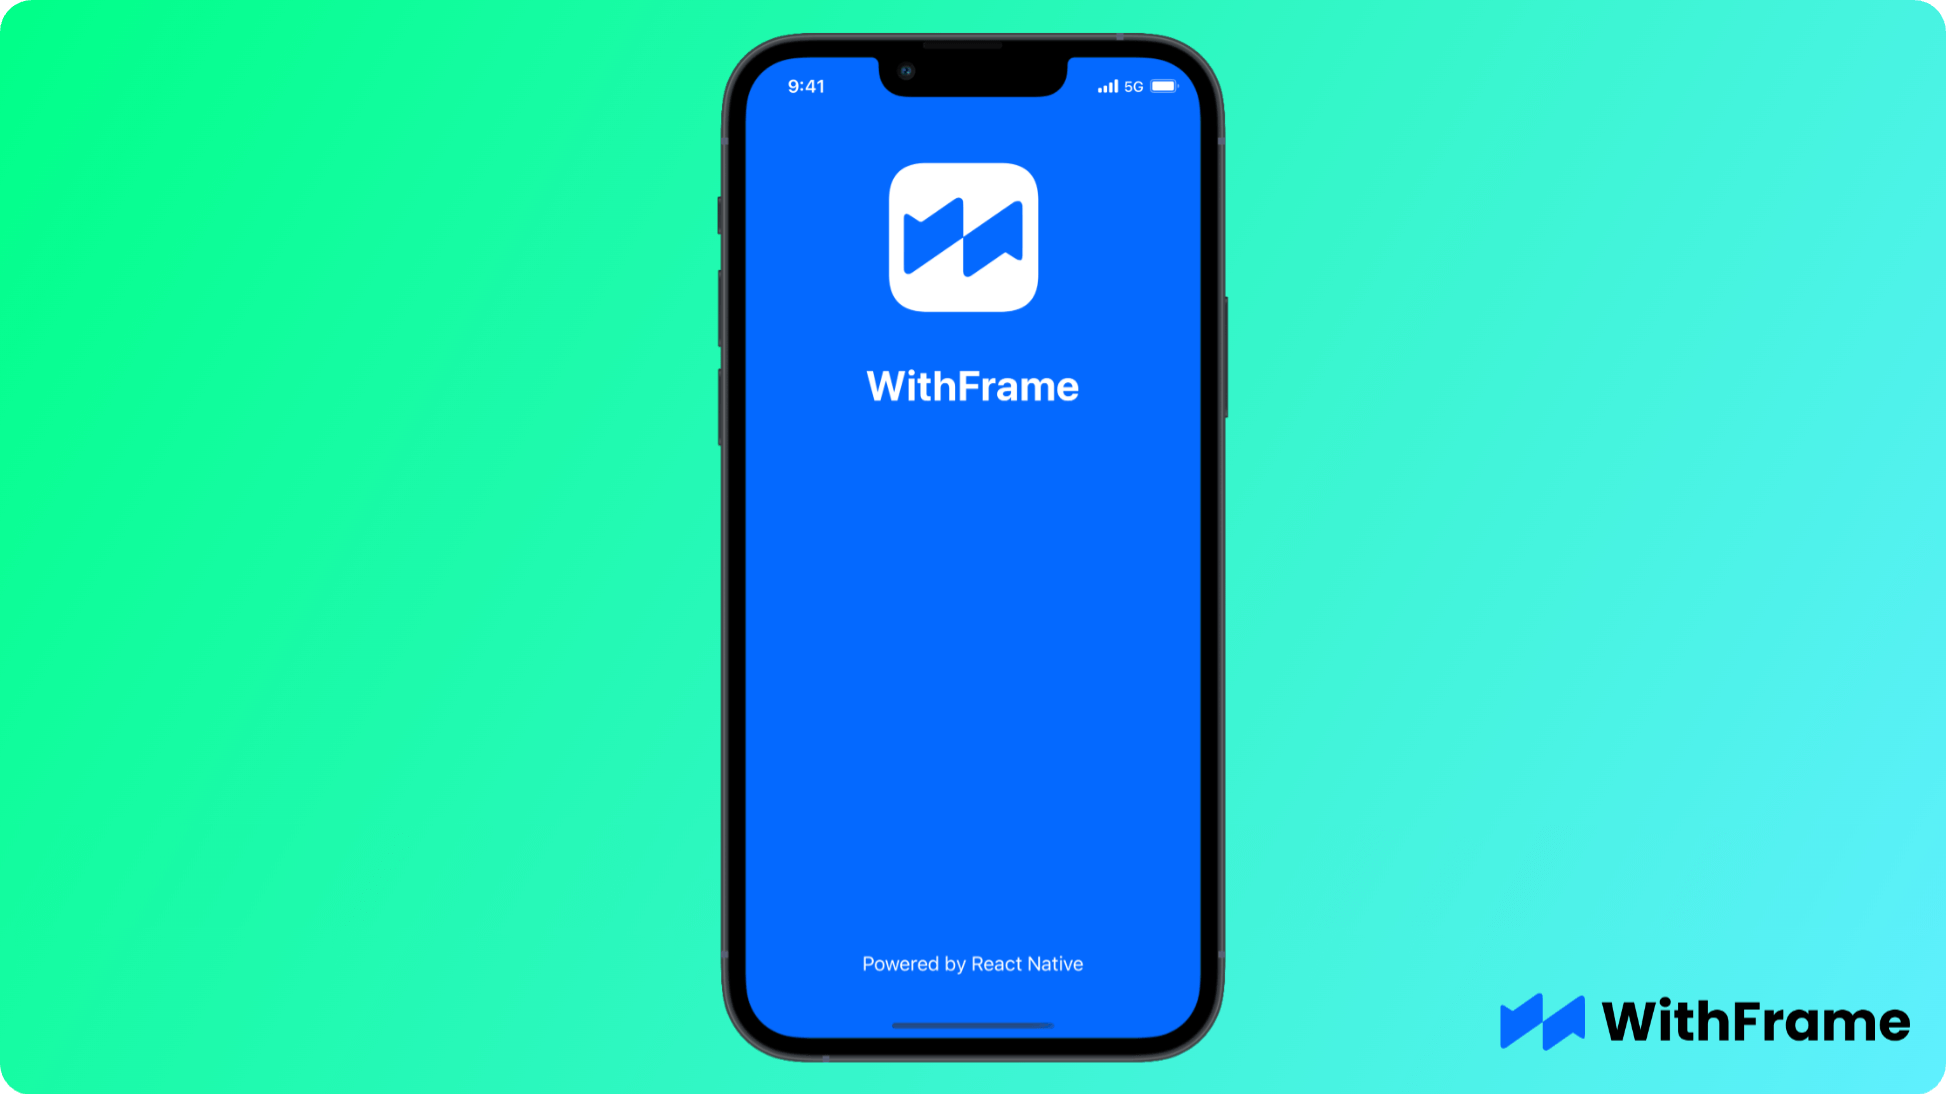
The splash screen is the first thing your users see when opening the app. It usually displays the app name, logo, and sometimes the current version of the app.
Implementing a splash screen in React Native can significantly enhance the user's first impression of your app. Some other benefits include:
- Engagement: Captures user attention immediately upon opening the app.
- Brand Recognition: Establishes and reinforces brand identity.
- User Patience: Improves user tolerance for loading times by indicating progress.
Let’s get started!
Prerequisites
If you are starting a new project, you can set up your React Native environment with the following command:
npx react-native init MySplashScreenApp
For those who have an existing project, ensure it’s updated and ready for integration.
Installation
React Native doesn’t have built-in support for splash screens, so we will use a third-party package called react-native-splash-screen. This package is popular for its ease of use and integration capabilities.
To install it, run:
npm install react-native-splash-screen
Or, if you are using yarn package manager:
yarn add react-native-splash-screen
Lastly, we have to link the native packages:
npx pod-install
Step 1: Configure your Splash Screen
The setup differs between iOS and Android. Below we will cover both:
iOS Configuration:
- Open your app project in Xcode, go to
Images.xcassetsand add a New Image Set. Then, drag your splash screen image into this set. - Next, open
LaunchScreen.storyboardand addImage Viewobject to the canvas. You can do it by clicking the+button in the top right corner of the storyboard. - Lastly, go to General Settings and select your storyboard in the
Launch Screen Filefield.
Android Configuration:
Add Splash Image: Place your image in
android/app/src/main/res. You may need to create several directories for different screen densities (e.g.,drawable-mdpi,drawable-hdpi).Modify Styles: In
android/app/src/main/res/values/styles.xml, add a new style for the splash screen:
<style name="SplashTheme" parent="Theme.AppCompat.Light.NoActionBar">
    <item name="android:windowBackground">@drawable/splash_image_name</item>
</style>
- Update AndroidManifest: Apply the new style to your main activity in
AndroidManifest.xml:
<activity
    android:name=".MainActivity"
    android:theme="@style/SplashTheme">
    <!-- Intent filters here -->
</activity>
Step 2: Hide Splash Screen on app launch
As soon as your React Native app is mounted and ready to be used, call SplashScreen.hide() function to hide the splash screen.
import React, { useEffect } from "react";
import SplashScreen from "react-native-splash-screen";

const App = () => {
  useEffect(() => {
    // Hide the splash screen once the app is mounted
    SplashScreen.hide();
  }, []);

  return (
    ...
  );
};

export default App;
Conclusion
By following the steps in this guide, you can implement a visually appealing and functional splash screen that not only boosts user engagement but also highlights your brand from the moment the app is launched.
Remember, the effectiveness of a splash screen is not just in its design but also in its implementation. Proper testing on various devices ensures a consistent and engaging user experience.
Testing Your Splash Screen
After integrating the splash screen, test your application on both Android and iOS devices to ensure the splash screen appears correctly and transitions smoothly. Adjust the timing and appearance based on the test results.
Further Considerations
- Performance: Ensure that the splash screen does not significantly impact the overall startup time of your app.
- Accessibility: Include accessibility features in the splash screen where possible.
- Dynamic Content: Consider using dynamic content or animations to make the splash screen more engaging.