Introduction
Fetching data from the internet is a staple in modern mobile applications. React Native developers often turn to Axios, a promise-based HTTP client, for this task due to its simplicity and robust features.
Axios is an HTTP client library that allows you to make requests to REST endpoints. Its promise-based nature makes it a great choice for asynchronous operations in JavaScript, offering a clean and readable syntax for handling responses and errors.
Why Axios Over Fetch?
While React Native's global fetch function is sufficient for basic HTTP requests, Axios provides a more powerful and flexible API for configuring requests, handling responses, and processing errors.
Features like automatic JSON data transformation, request and response interception, and timeout handling make Axios a robust solution for any React Native project.
Prerequisites
To demonstrate Axios in action, we’ll start by setting up a basic React Native app:
npx react-native init AxiosApp
For those who have an existing project, ensure it’s updated and ready for integration.
 For this example we will be using one of the WithFrame’s pre-built news feed components.
Installation
To install the package, run:
npm install axios
Or, if you are using yarn package manager:
yarn add axios
Making a Request
Let's start by fetching data from a placeholder API.
- Create a
fetchPostsfunction:
In your project, create a file named ApiService.js. This will house our Axios calls.
Next, add a simple fetchPosts function to load article posts using axios package we installed earlier.
import axios from "axios";

export const fetchPosts = async () => {
  try {
    const response = await axios.get(
      "https://assets.withfra.me/api/posts.json"
    );
    return response.data;
  } catch (error) {
    console.error("Error fetching posts:", error);
    throw error;
  }
};
- Display Data in Your App:
Next, import fetchPosts in your component and call it when the component mounts, displaying the fetched data:
import {fetchPosts} from './ApiService.js';

export default function Example() {
  const [posts, setPosts] = useState(null);

  useEffect(() => {
    fetchPosts()
      .then(data => setPosts(data))
      .catch(() => {})
  }, []);

  return (
    ...
  )
}
- Add Loading Animation:
It's important for user experience to display the loading animation any time user has to wait for something to happen.
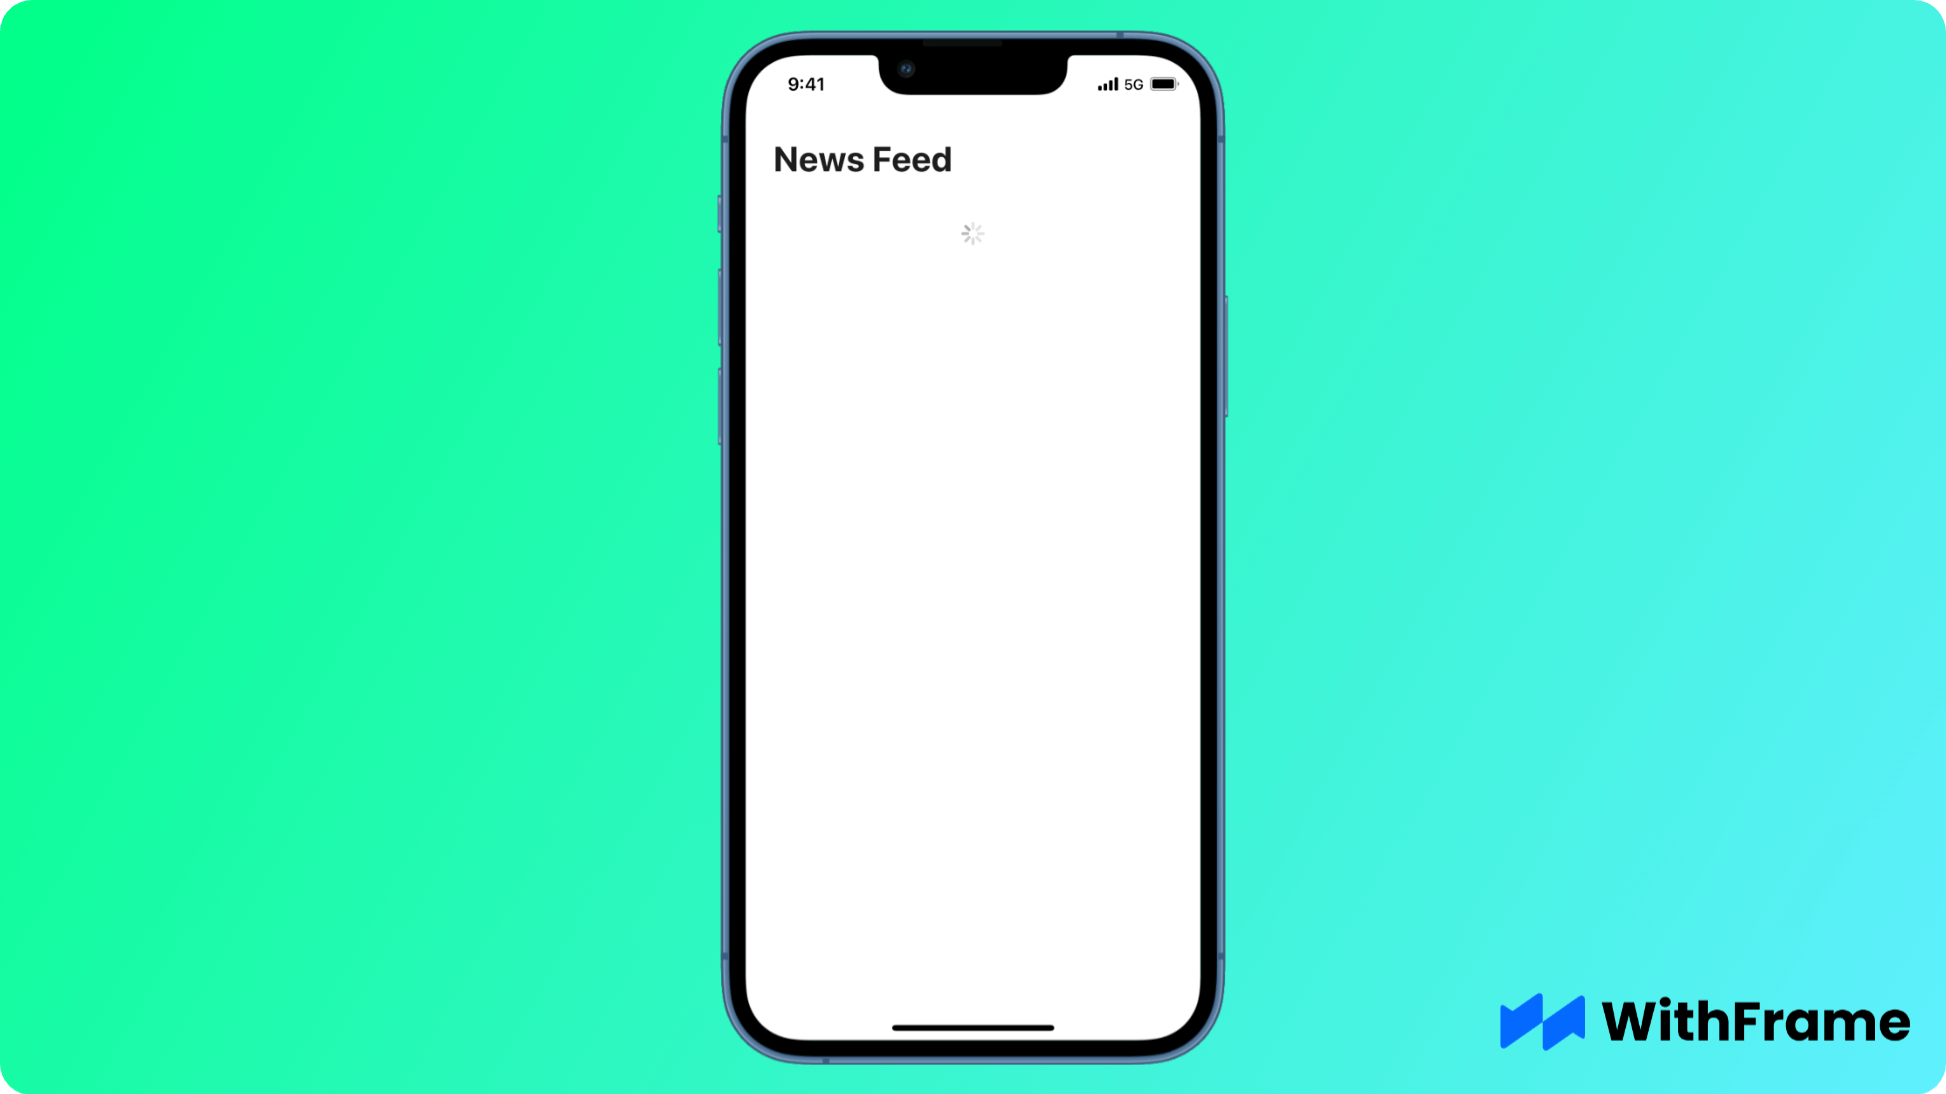
In this case we will be using a native React Native spinner called ActivityIndicator.
export default function Example() {
  const [posts, setPosts] = useState(null);

  useEffect(() => {
    fetchPosts()
      .then(data => setPosts(data))
      .catch(() => {})
  }, []);

  // `useMemo` is optional, to only re-render the content when the `posts` are updated.
  const content = useMemo(() => {
    if (posts === null) {
      return (
        <View style={{flex: 1, alignItems: 'center', justifyContent: 'center'}}>
          <ActivityIndicator size="large" color="#000" />
        </View>
      )
    }

    if (!posts?.length) {
      return (
        <View style={{flex: 1, alignItems: 'center', justifyContent: 'center'}}>
          <Text>Could not find any posts</Text>
        </View>
      )
    }

    return (
      ...
    )
  }, [posts])
}
- Final result
Lastly, add the UI for article posts and render them in your app. The final component code should look something like this:
export default function Example() {
  const [posts, setPosts] = useState(null);

  useEffect(() => {
    fetchPosts()
      .then((data) => setPosts(data))
      .catch(() => {});
  }, []);

  // `useMemo` is optional, to only re-render the content when the `posts` are updated.
  const content = useMemo(() => {
    if (posts === null) {
      return (
        <View
          style={{ flex: 1, alignItems: "center", justifyContent: "center" }}
        >
          <ActivityIndicator size="large" color="#000" />
        </View>
      );
    }

    if (!posts?.length) {
      return (
        <View
          style={{ flex: 1, alignItems: "center", justifyContent: "center" }}
        >
          <Text>Could not find any posts</Text>
        </View>
      );
    }

    return posts.map(({ img, title, author, authorImg, tag, date }, index) => {
      return (
        <TouchableOpacity
          key={index}
          onPress={() => {
            // handle onPress
          }}
        >
          <View style={styles.card}>
            <Image
              alt=""
              resizeMode="cover"
              source={{ uri: img }}
              style={styles.cardImg}
            />

            <View style={styles.cardBody}>
              <Text style={styles.cardTag}>{tag}</Text>

              <Text style={styles.cardTitle}>{title}</Text>

              <View style={styles.cardRow}>
                <View style={styles.cardRowItem}>
                  <Image
                    alt=""
                    source={{ uri: authorImg }}
                    style={styles.cardRowItemImg}
                  />

                  <Text style={styles.cardRowItemText}>{author}</Text>
                </View>

                <Text style={styles.cardRowDivider}>·</Text>

                <View style={styles.cardRowItem}>
                  <Text style={styles.cardRowItemText}>{date}</Text>
                </View>
              </View>
            </View>
          </View>
        </TouchableOpacity>
      );
    });
  }, [posts]);

  return (
    <SafeAreaView style={{ backgroundColor: "#fff", flex: 1 }}>
      <ScrollView contentContainerStyle={styles.container}>
        <Text style={styles.title}>News Feed</Text>

        {content}
      </ScrollView>
    </SafeAreaView>
  );
}
Advanced Axios Features
Axios shines with its advanced features that cater to more complex scenarios.
Setting Global Configurations
For projects requiring multiple requests to the same server, setting a global base URL and default headers can streamline your code.
axios.defaults.baseURL = "https://assets.withfra.me/api";
axios.defaults.headers.common["Authorization"] = "Bearer YOUR_TOKEN";
axios.defaults.headers.post["Content-Type"] = "application/json";
Using Interceptors
Interceptors allow you to run your code or modify requests and responses before they are handled by then or catch.
// Add a request interceptor
axios.interceptors.request.use((request) => {
  console.log("Starting Request", request);
  return request;
});

// Add a response interceptor
axios.interceptors.response.use((response) => {
  console.log("Response:", response);
  return response;
});
Handling Timeouts
To prevent requests from hanging indefinitely, you can specify a timeout.
axios
  .get("https://assets.withfra.me/api/posts.json", { timeout: 5000 })
  .then((response) => console.log(response.data))
  .catch((error) => console.error("Timeout error:", error));
Making POST Requests
Submitting data to a server is straightforward with Axios's post method.
const newPost = {
  userId: 1,
  title: "Axios with React Native",
  body: "Using Axios for HTTP requests is simple and efficient.",
};

axios
  .post("/posts", newPost)
  .then((response) => console.log(response.data))
  .catch((error) => console.error("Error creating post:", error));
Error Handling
Robust error handling ensures a smooth user experience, even when things go wrong. Axios errors can be caught using .catch():
axios
  .get("/nonexistent-endpoint")
  .then((response) => console.log(response))
  .catch((error) => {
    if (error.response) {
      // The request was made and the server responded with a status code
      console.log(error.response.data);
      console.log(error.response.status);
      console.log(error.response.headers);
    } else if (error.request) {
      // The request was made but no response was received
      console.log(error.request);
    } else {
      // Something happened in setting up the request
      console.log("Error", error.message);
    }
  });
Best Practices
- Use async/await: For cleaner syntax and better error handling, prefer using
async/awaitover traditional promise syntax. - Centralize API Calls: Keep your API calls in separate service files to maintain cleaner components and facilitate easier testing.
- Handle Loading States: Use state hooks to manage loading states in your UI, providing feedback to users during data fetching.
- Secure Your API: If your API requires authentication, ensure secure storage of tokens and implement proper session management.
Conclusion
Axios is a powerful and versatile HTTP client that makes it easier to consume REST APIs in React Native apps.
By understanding and leveraging Axios' full suite of features, developers can efficiently handle HTTP requests, streamline error handling, and enhance the overall user experience of their applications.